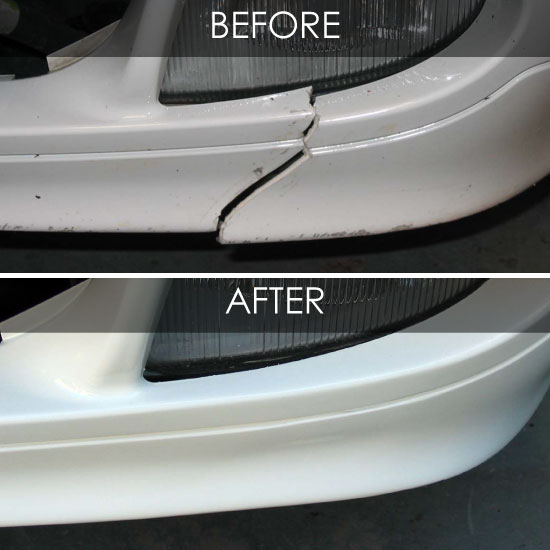
Your car’s bumpers are susceptible to damage. If you go to an expert they will use expensive epoxies, heat, plastic welding, and other techniques to repair your car’s bumper. This may be costly but will be worth it if you own an expensive car. Whether you need an expert or not is completely up to you and your preference. If you think your car’s value doesn’t support big spending or if you are not a perfectionist when you repair it yourself. You can complete your car’s front bumper repair under 100 dollars and if you only have chipped its even cheaper. So what’s the repair process? The following passages will be discussing the bumper repair process.
Step 1
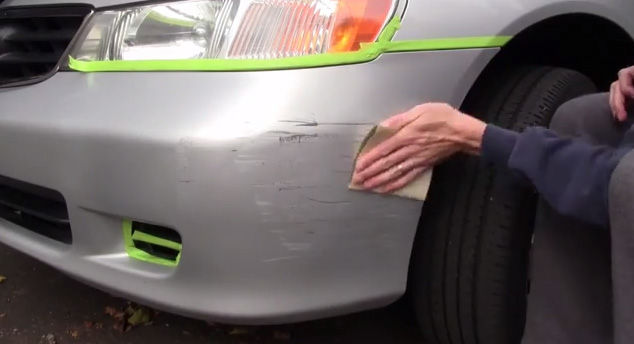
Cleaning your bumper is the first step in the process. Cleaning the wound within the bumper should take first priority. When you see anything that seems unnatural that seems to break the natural contour of the bumper it needs to be cut-off. The uneven bumps and pieces will stop you from creating a smooth perfect surface and you won’t be able to get a good finish on the repair. You can use a razor blade to cut down any large piece and use 80-100 grit sandpaper on small burrs or sections to create a smooth surface. Then start cleaning the back of the bumper after that start scuffing it with sandpaper.
Step 2
So before you can start using filler to repair the front you need to repair the whole itself. You need to cut a piece of auto-repair cloth or mesh then soak it in a fiberglass infused body filler. After soaking it you need to press it into the back of the hole. Let the patch dry for 3-4 hours and then move on to the next step.
Step 3
So once the patch has set, you need to add the filler on the front. Take the filler container, read the instructions thoroughly. You will see that the instructions of application have been clearly detailed out there. You will see how many layers you would need to apply on the hole. You should start by spreading a thin layer on the hole. Then let the filler dry and continue the process as many times as instructed. After all the layers have finished drying you need to sand the area and make it smooth.
Step 4
Now all that is left is for you to paint the repaired bumper. But before you do you need to make sure you have the right color match. You can easily find it on a local auto repair shop or online auto shop. It’s pretty easy to find as long as you know your car’s information. You can choose for a touch-up paint option which is basically a spray can. It is pretty easy to handle the paint this way. However, if you need to get a whole-bumper repaint job I suggest you take the help of an expert.
However, if you are going to do the paint job yourself then there are some things you should follow. You should make sure you work in a well-ventilated area and wear safety gears like goggles and gloves. Then you need to mask around the patch. Make sure that the patch has been properly sanded otherwise the paint job won’t be right. So, after the masking spray on the paint on the smooth patch and let it dry. Make sure you do several light coats of paint rather than heavy coats. This way you get to control the outcome better. If your car needs a clear coat then apply that as well and let the paint dry before taking it out.
Conclusion

There you, these are the steps on doing a front bumper repair on your car. Make sure you follow instructions properly. If you are not comfortable with doing it yourself then you should consult an expert for it. There is no need to take the unnecessary risk of more damage.


